An investigation is a collection of analyses related to one dataset (you can create several investigations for one dataset, you cannot use multiple datasets in one investigation).
To see the list of available investigations, press ‘Investigations’ button from the main menu (top panel):
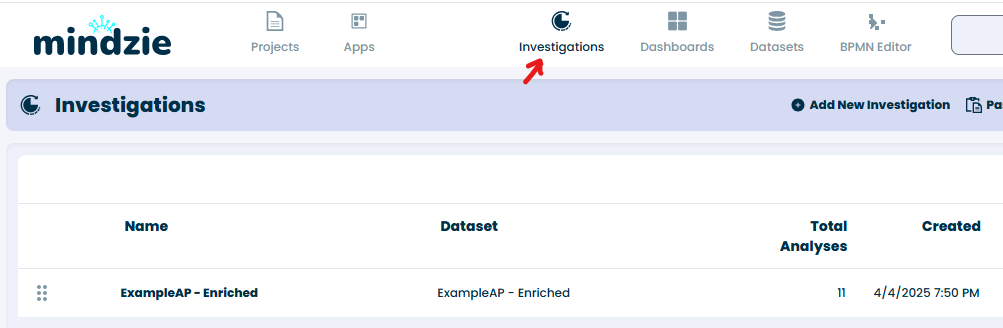
The list will be empty if you didn’t upload any data yet. In our example, we can see one investigation which was automatically created once we uploaded a dataset. You can change the name of an investigation or remove it by pressing the three dots next to the investigation.
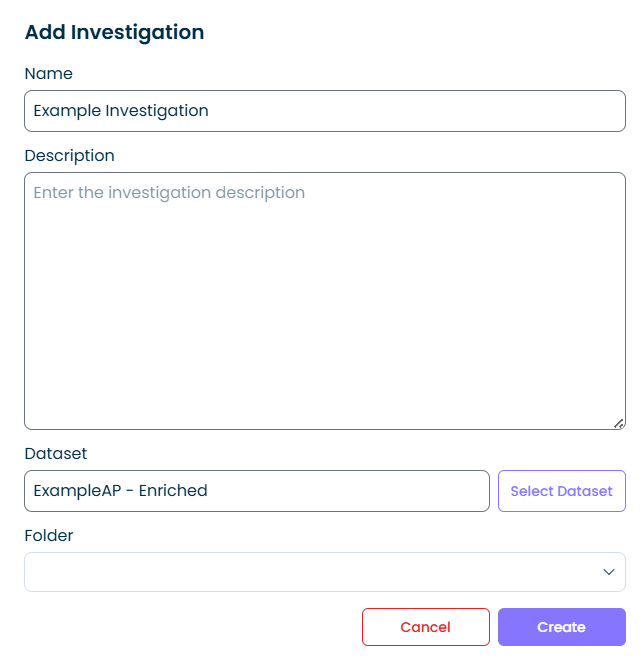
To create a new investigation, press ‘Add New Investigation’ button. You will need to select a dataset and provide a name of the new investigation:
A new investigation will be created. You will see a ‘New Analysis’ screen: you can create a new blank notebook analysis or create an analysis using one of the analysis templates:

We will create a blank notebook analysis with a title ‘Example Analysis’; after pressing ‘Create’, you will see the new created investigation and analysis:
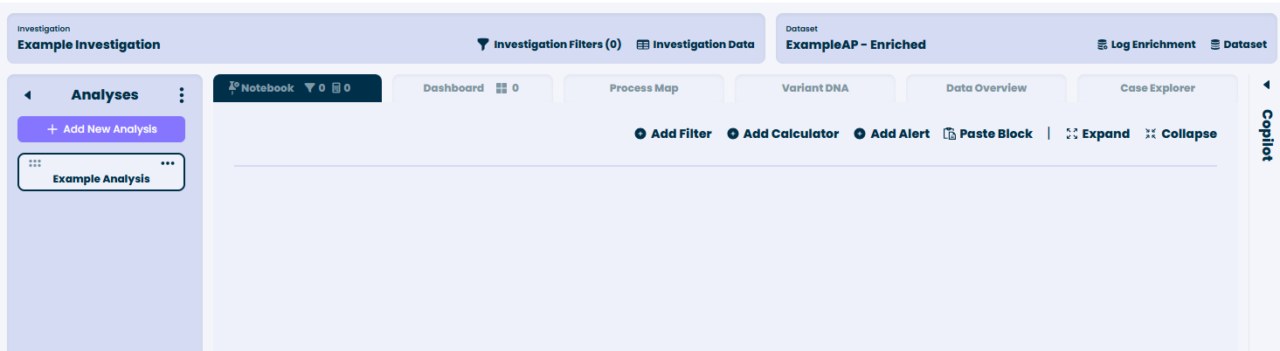
Panel on top shows information about the investigation and the dataset, panel on the left shows the list of analyses in the investigation.
Main central part of each analysis has 6 tabs: Notebook (shows filters and calculators used in the analysis, empty for a new analysis), Dashboard (empty for a new analysis), Process Map, Variant DNA, Data Overview and Case Explorer.
See how to: Add Filter, Add Calculator, Create Dashboard